I had no idea this was going to come about a couple of hours ago, but I'm so excited to be presenting my first tutorial! :)
I was thinking about projects that are completed by tying flaps together (those fleece blankets and scarves and the felt tie bags from Felt Friends from Japan), and realized I'd never seen a softie that was made by this method. Let's do it!
Away we go!
Materials:
2 pieces of felt in colors of your choosing (about 9 x 12 inches)
small piece of felt for body
scissors
stuffing
black embroidery floss
hot glue gun/glue
(cost: $2 or less)
Step One: Cut two ovals of the same size from the large sheets of felt. Match them up the best you can. My ovals measured about ten inches on the longest part.

Step Two: Holding both pieces of felt together, make cuts all the way around the oval about a half an inch apart. The cuts should be deep enough that you will be able to tie the flaps from each piece together. Mine were about an inch and a half to two inches deep.

Step Three: Keeping the two ovals stacked, tie the flaps from each piece together. In my case, I tied an orange flap to the gray flap across from it. Once you've tied almost all the flaps, add stuffing and close.

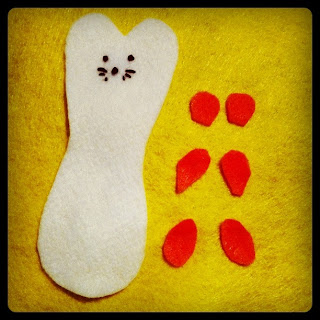
Step Four: Using a contrasting color, cut a body piece. I used black embroidery floss to make the whiskers and french knots for the eyes and nose. (Do french knots scare you? They won't after you read this.) If you'd rather make this a completely no sew project, you could use puffy paint or marker for the face.
Step Five: Cut pieces for ears and paws.

Step Six: Use hot glue to attach the paws and ears to the body. Normally I would sew them all on, but let's keep it as simple as possible to go with the no sew spirit. :)
Optional: I made a stitch at the base of my ears to gather them and give them more dimension.
Step Seven: Glue the body piece onto the base.


Lovely job! Very well done, and excellent design ;)
ReplyDelete